How to Stop a Dripping Faucet: Tips for USA 2025 Updated
- by Parul Yadav
- July 3, 2025
- 0
- 292
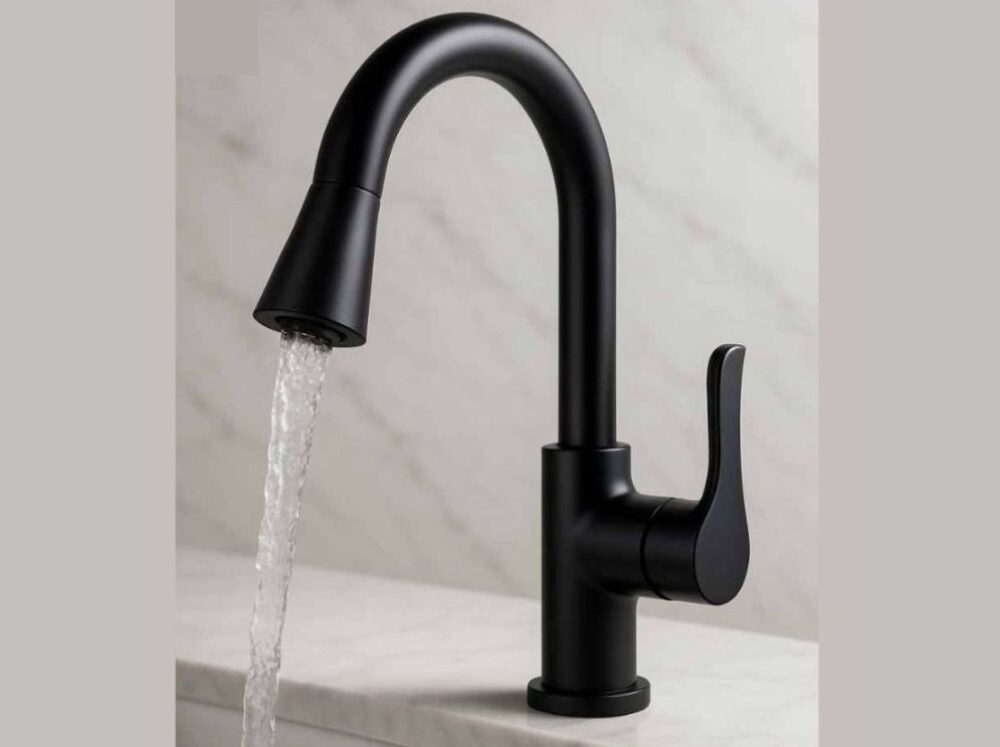
While a leaking faucet may seem frustrating to some, over time, those steady drops add up to be a significant waste of water. More than 3000 gallons of water are wasted by a leaking faucet every year, according to the EPA. Apart from environmental issues, this small inconsequential issue can burn a hole in your pocket with increased utility bills and long-term damage to sinks and plumbing fixtures.
Fortunately, some solutions do exist. In this blog, I will explain how to stop a dripping Faucet. Dripping faucet repair is easier than anything, and sometimes, all you need is a minor repair. You can do it with little creative power and some basic tools, which save both water and cash.
What Causes a Faucet to Drip?
Before learning how to stop a dripping faucet, let’s understand the root causes. A dripping faucet is often the result of one or more of the following issues:
Worn-out washers or O-rings
It is a flat, round disc made of rubber, silicone, or neoprene that prevents the valve from leaking. Over time, the materials wear out, and the disc loses its ability to seal the valve properly.
Corroded valve seats
The valve seat is the junction of a faucet with a spout. It is corroded and rough due to mineral buildup from hard water or wear and tear caused by time. If the valve seat is corroded or rough, then it does not allow the washer to form a perfect seal, hence allowing water to slowly leak from the spout even when the rest of the faucet parts are in good condition.
Loose parts or broken plumbing
In many cases, loose screws, nuts, and seals cause leaky faucets. Loosening of the parts may accumulate with time due to vibrations, changes in water pressure, or normal wear. In more severe cases, broken parts like cracked cartridges or damaged stems may be the root of the problem.
High water pressure
Intermittent leaks or drips through the internal seals of an otherwise stable faucet can be caused by high water pressure; that pressure, over time, might also accelerate the deterioration of washers, O-rings, and other components and increase the chances for future leaks.

Tools You’ll Need
Before getting started, let’s discuss what tools you will need. Before starting the repairing process, gather these common household tools:
- Adjustable wrench
- Screwdriver (flathead or Phillips, depending on your faucet type)
- Replacement washers or O-rings
- Plumber’s tape
- Rag or towel (to catch water and protect your sink)
How Do You Stop a Faucet from Dripping Without Replacing It?
Here are some general steps on how do you stop a faucet from dripping without replacing it:
1. Turning Off the Water Supply
You have to check and find shut-off valves under your sinks and turn them clockwise to stop the water supply to the affected faucet. Then open the faucet to drain off the remaining water.
2. Finally, Plug the Drain
Put a sink plug or put a towel across the drain to prevent any screws or small parts from falling in.
3. Disassemble What’s Inside the Faucet
Disassemble the faucet carelessly from the handle to other parts. Very important with respect to the parts. Maybe you will need to remove a decorative cap to access a screw down below there.
4. Inspect and Clean Internal Parts
Examine for any visible signs of wear, corrosion, or debris. If necessary, clean the mineral deposits with vinegar.
5. Replace Washers or O-rings
Most likely, you can fix the dripping by replacing these, even if they do not look damaged. Be careful to exactly match sizes.
6. Reassemble and Test
Put everything together in reverse order, turn the water supply back on, and test the faucet. If it is not leaking, you did it.
Quick Tip: Wrapping threads in the plumber’s tape before reassembly will also help ensure a tight seal for the prevention of leaks in the future.
When to Call a Professional
Sometimes, even the best DIY approach isn’t enough. Call a licensed plumber if:
- The leak continues after replacing parts
- You notice corrosion or cracks inside the faucet body
- Water is leaking from multiple points or under the sink
- You’re dealing with unusually high water pressure

Preventing Future Leaks
Once you’ve stopped the drip, a few simple habits can help prevent it from coming back:
- Perform regular maintenance: Clean aerators and inspect washers annually.
- Use quality replacement parts: Cheaper components wear out faster.
- Monitor water pressure: Install a pressure regulator if necessary to protect plumbing.
Frequently Asked Questions: How to stop a dripping faucet.
1. How to stop a dripping bathroom faucet?
The first step is to cut off the water supply, remove the handle, and undo the screws from the faucet. Replace anything worn, such as washers, O-rings, or cartridges. Clean any deposits from the inside. Put the faucet back together and check it for leaks; regular maintenance can prevent dripping and extend the faucet from lasting longer.
2. How to stop a dripping single-handle faucet?
First, turn off the water supply, and use an Allen wrench to remove the handle. The cartridge that is worn inside the faucet body should be replaced. Clean the parts if there are any mineral deposits. Reassemble and turn the water back on to test. A new cartridge usually remedies a single-handle leak.
3. How to make a sink faucet stop dripping?
Turn the water valves off below the sink, disassemble the faucet, and check for damaged washers, O-rings, or cartridges. Replace any defective components. Clean debris or mineral buildup from the internal components. Reassemble and check for leaks. Inspection of parts can help prevent future dripping.
Conclusion
Knowledge of how to stop a dripping faucet helps save water, reduces water bill payments, and gives you that sweet satisfaction of having fixed something yourself. Small problems like worn-out washers and loose parts are often at the root of most leaks-and you don’t have to replace an entire faucet to stop the leak.
I hope this blog helps you and that you understand how to stop a dripping faucet. If you have any queries, you can contact me or drop a comment below. If you like this blog, plz share this blog with your friends and family.

